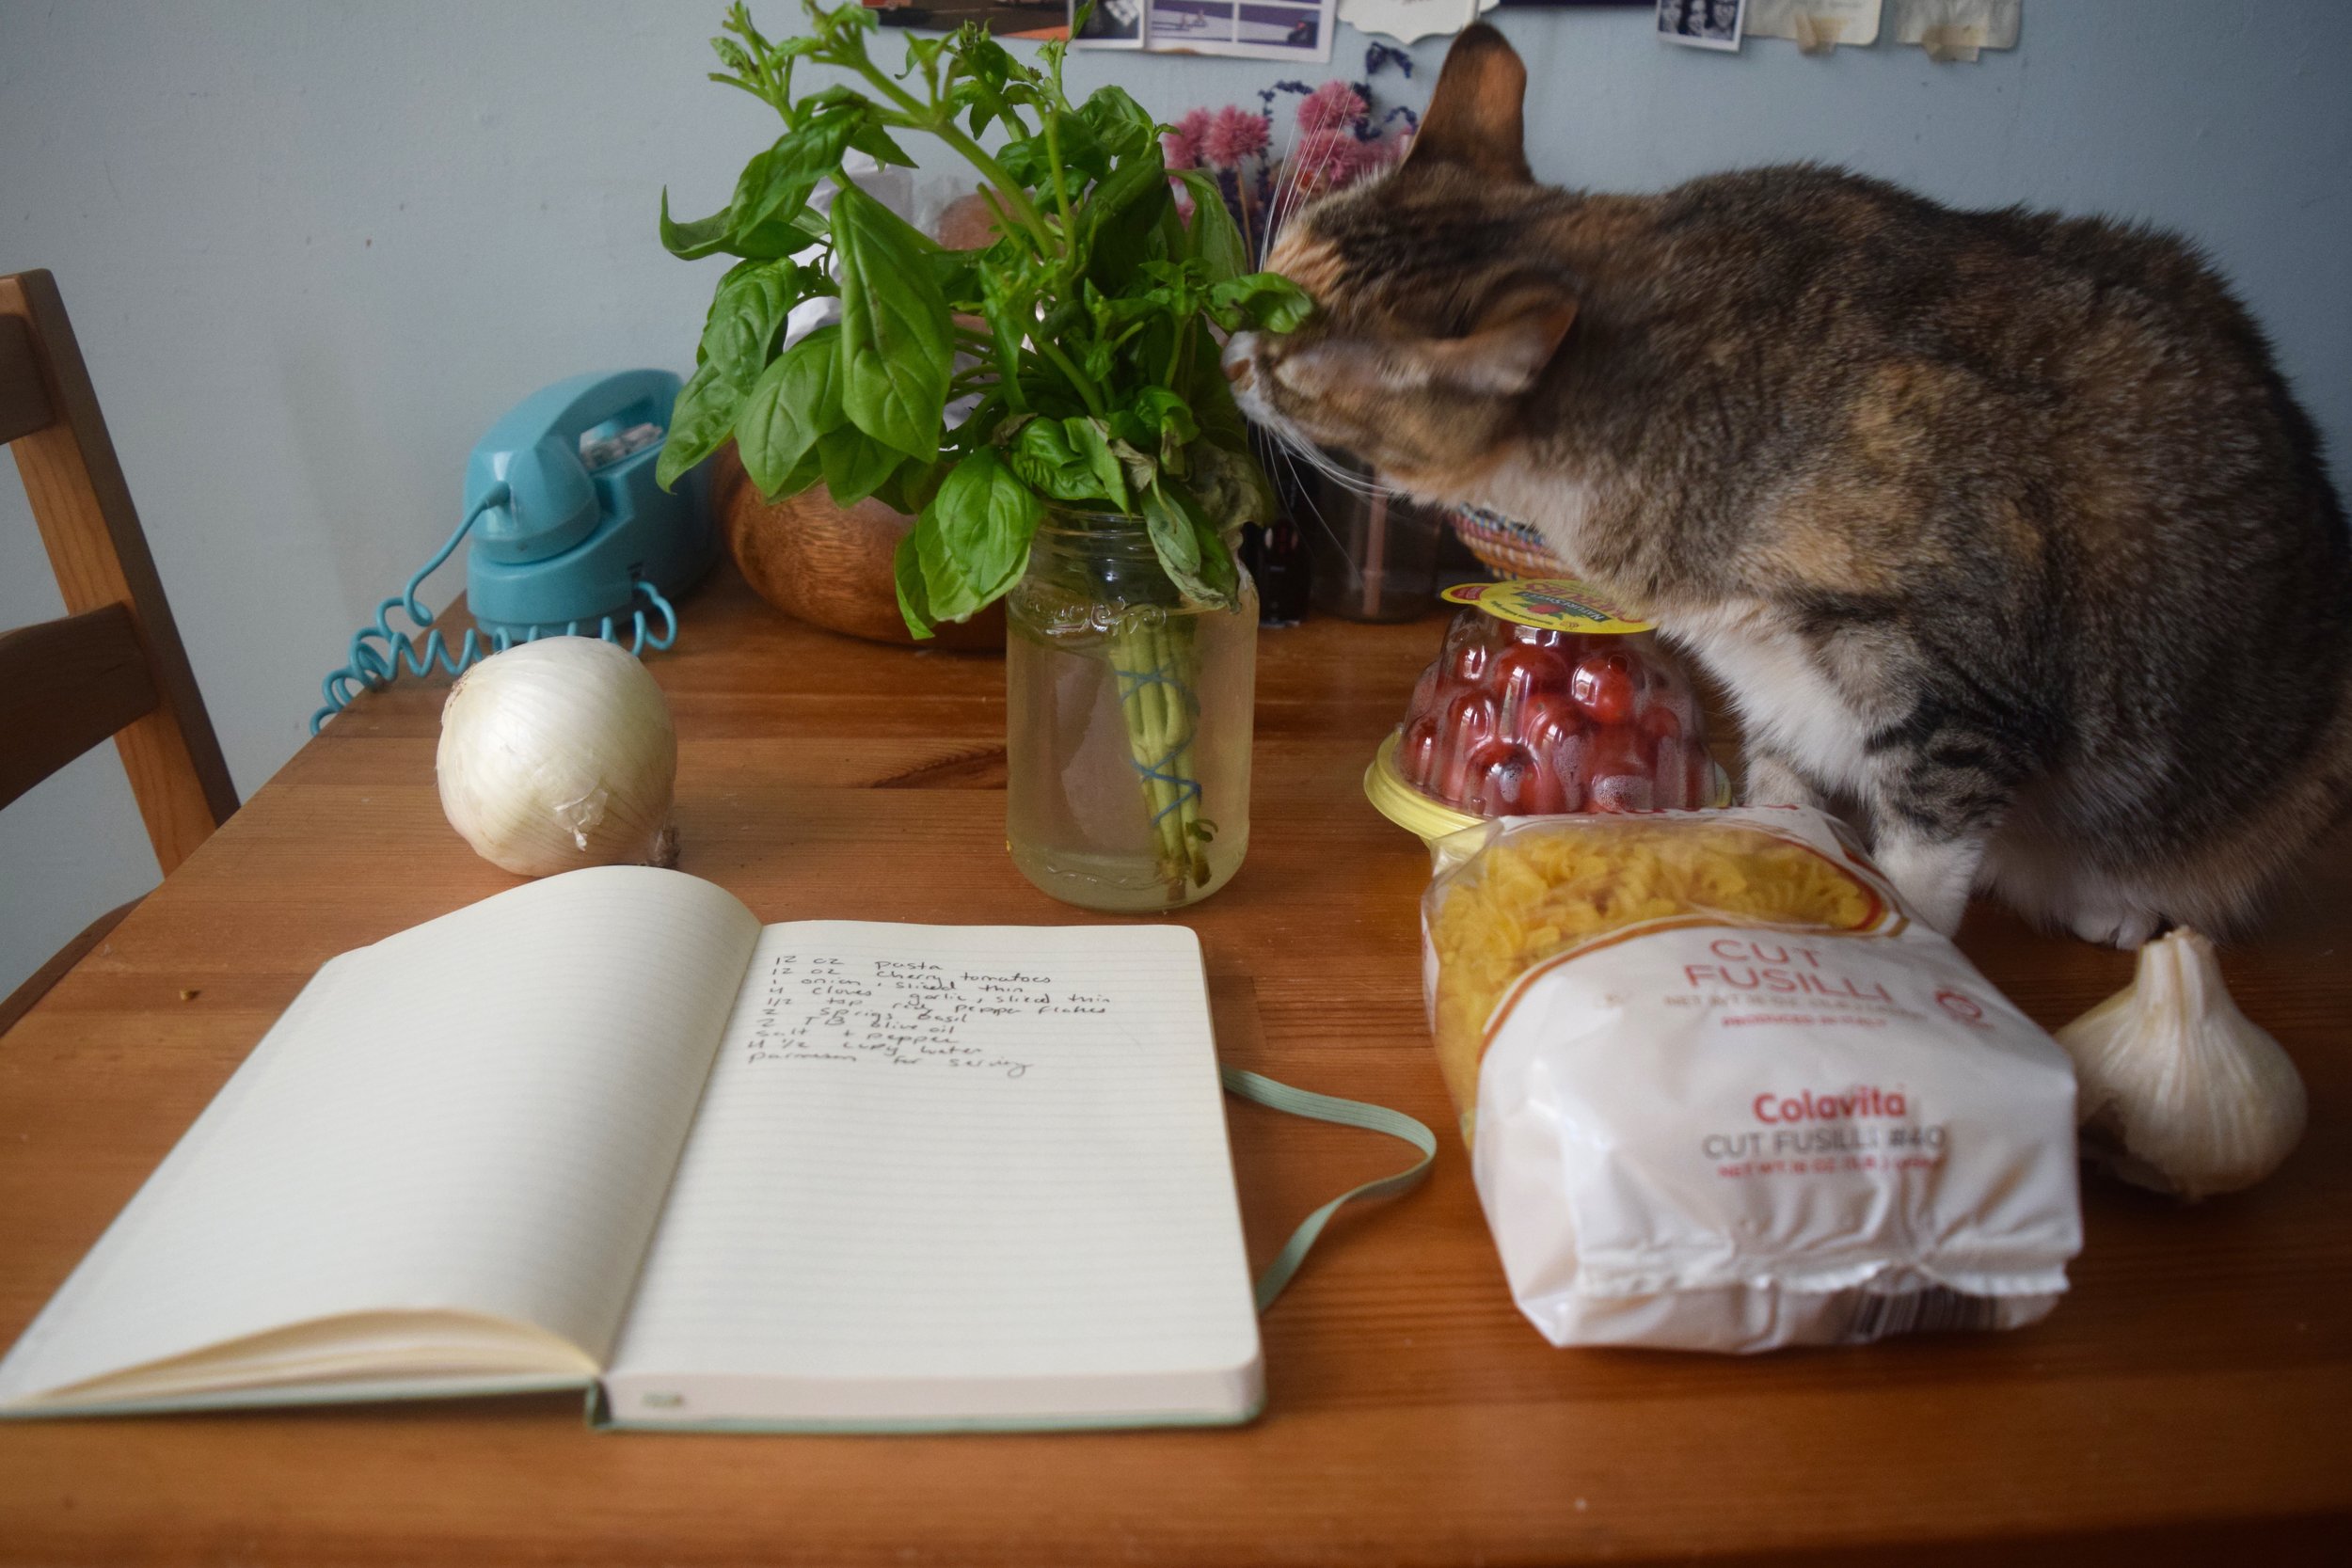
Lately there seems to be an upswing in trending recipes. I say this like knowing that, sure, there have been dietary fads galore over the years, many ingredient centered obsessions, and recipes that have been clipped and saved feverishly, garnering request after request for a reprinting pre-internet. Trends come and go, but a good recipe is worth its weight in picked clean plates, of course. However, there’ve been a few recipes circulating around lately that, for whatever reason, seem inescapable and appear in instagram after instagram post and have roused enough interest to have entire articles dedicated to them.
One such recipe is Alison Roman’s recipe for Salted Chocolate Chunk Shortbread Cookies. They’ve quickly become what I’ve seen referred to as simply “the cookies”, so I knew I had to give this recipe a shot. After all, I am a huge fan of shortbread, chocolate, and salt - so what’s not to like? I especially enjoy the way she described the process of creating the cookie in her NYT recipe, stating:
“I’ve always found chocolate chip cookies to be deeply flawed (to know this about me explains a lot). Too sweet, too soft, or with too much chocolate, there’s a lot of room for improvement, if you ask me. But no one asked me, and rather than do a complete overhaul on the most iconic cookie known to man, I took all my favorite parts and invented something else entirely. Made with lots of salted butter (it has a slightly different flavor and a deeper saltiness than using just salt — I prefer unsalted butter everywhere else but here), the dough has just enough flour to hold it together and the right amount of light brown sugar to suggest a chocolate chip cookie.”
Sounds like the ideal cookie to me, so what could go wrong? From the comments I could see already that there were a few complaints about the various steps involved to make this cookie. I sort of rolled my eyes, believing myself to be the sort of beyond beginner baker that would find a shortbread recipe to be a breeze. Reader, even I misstepped.

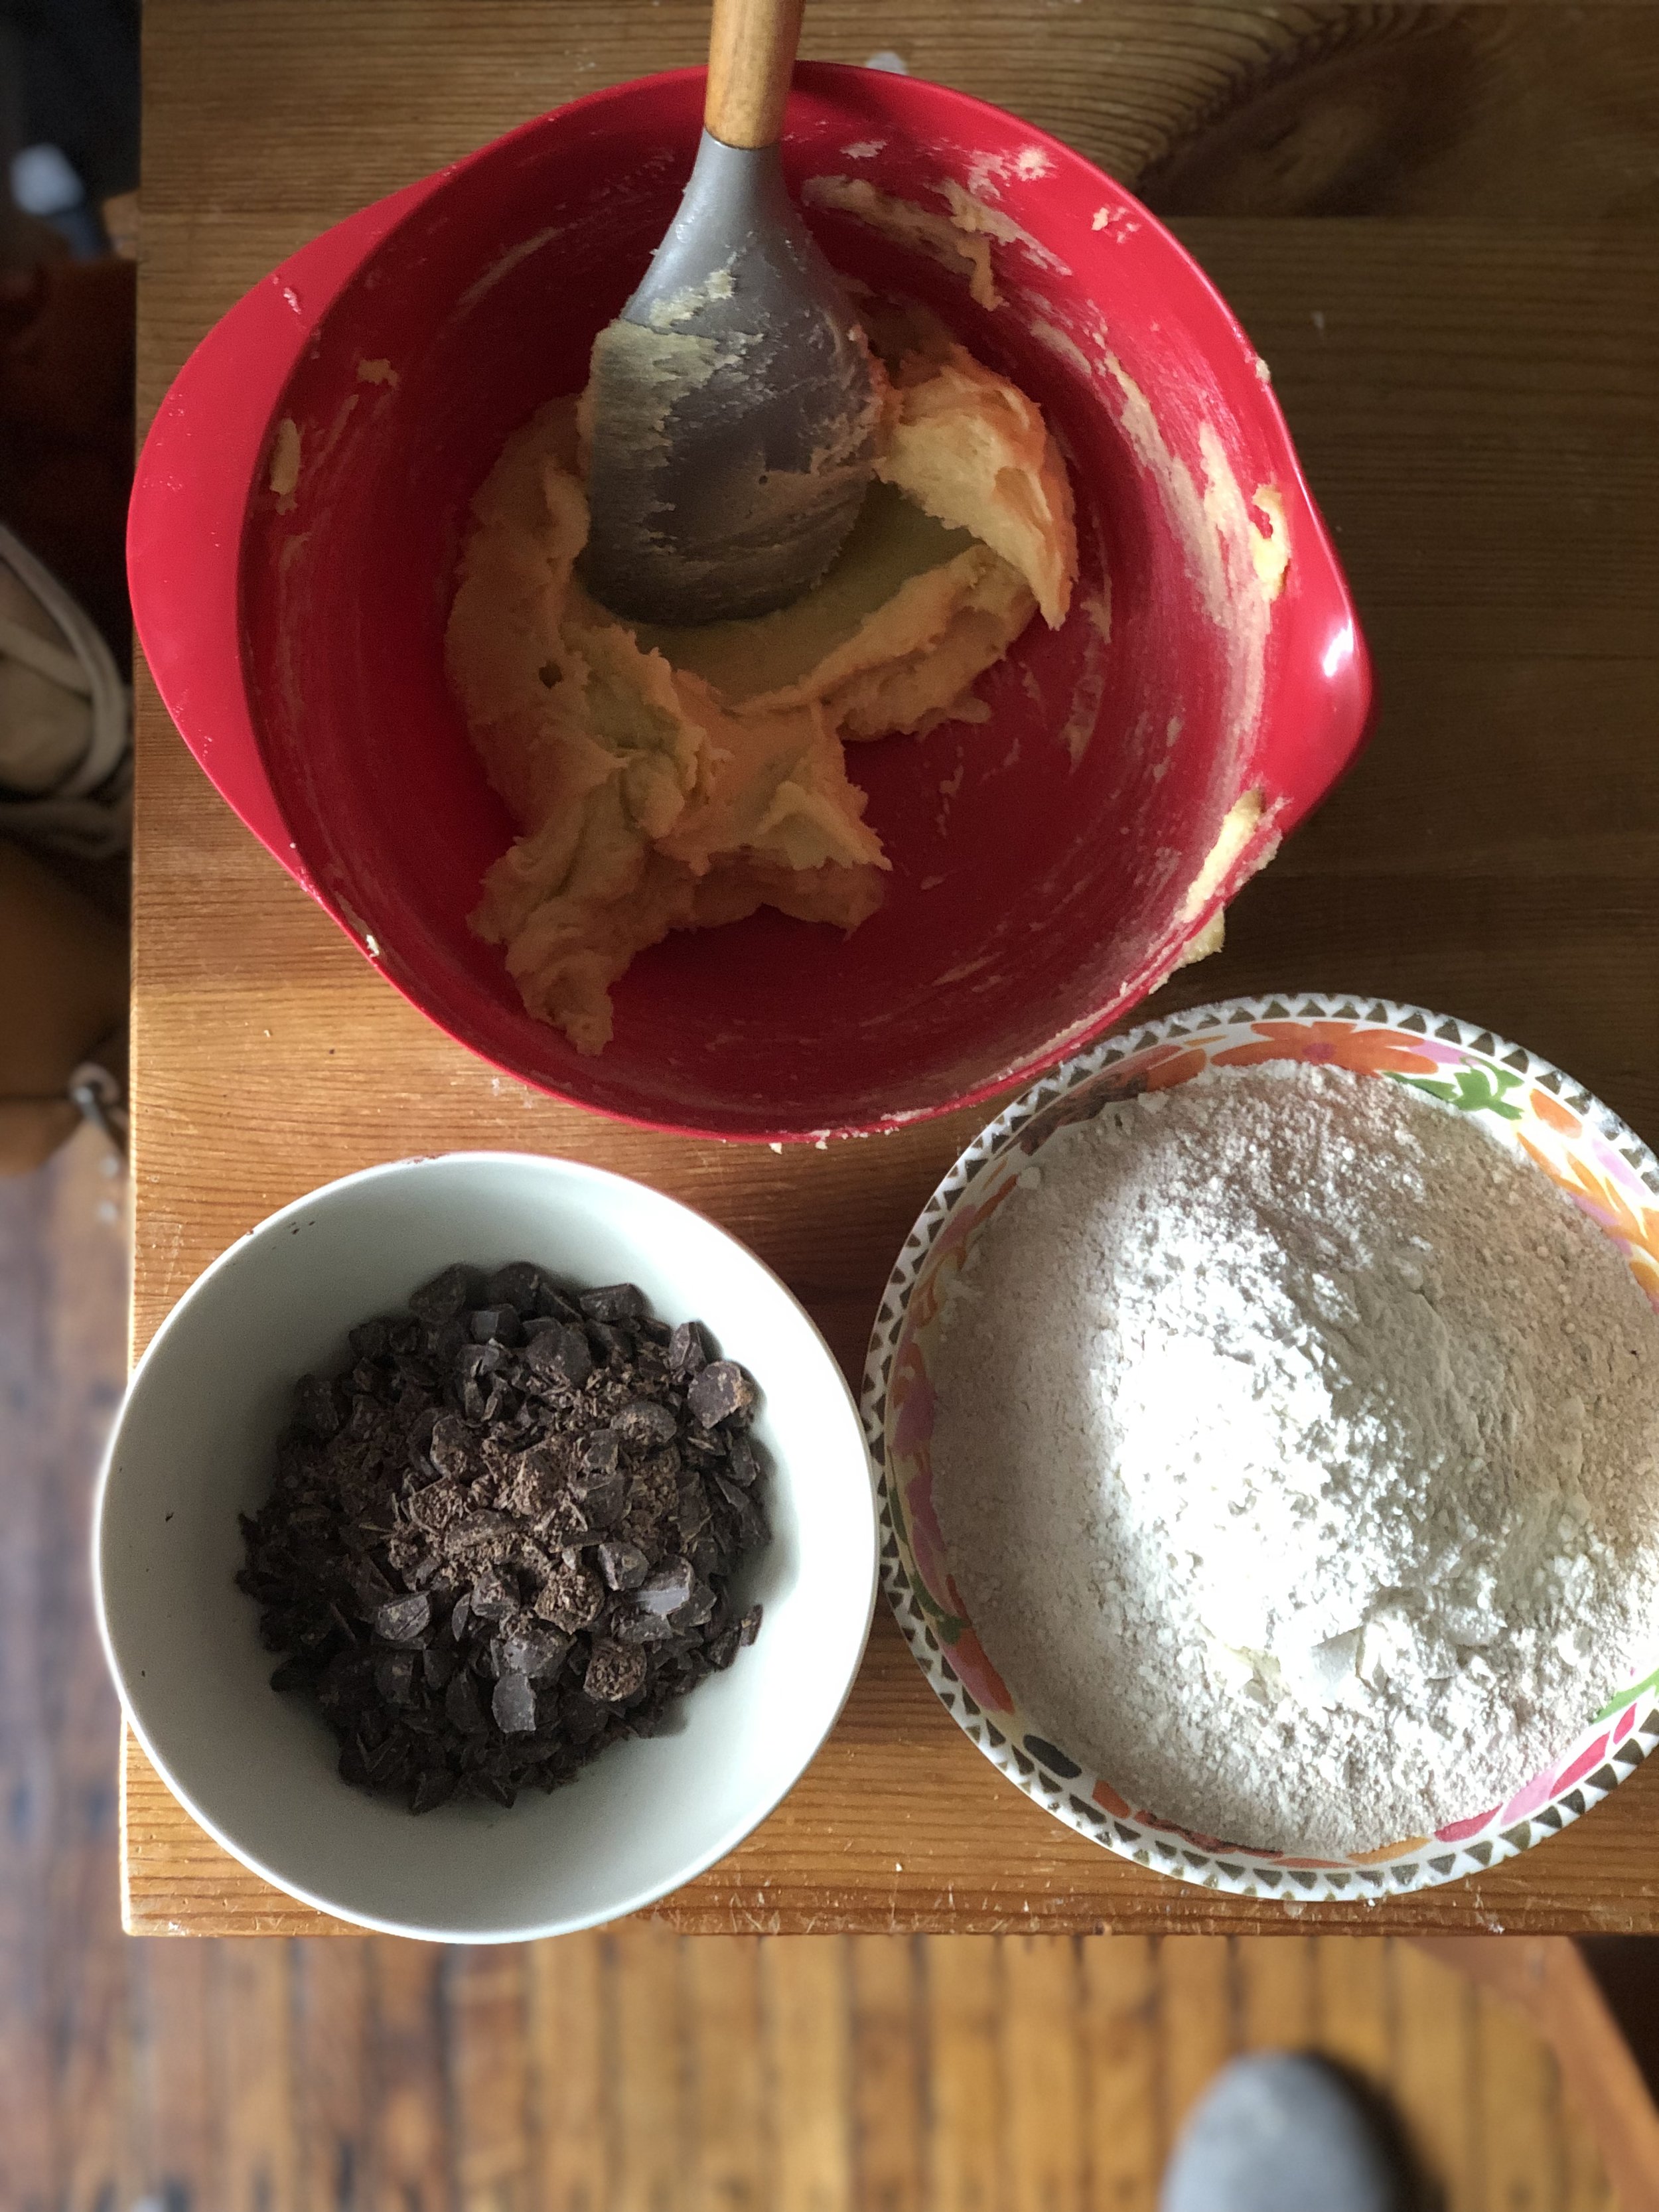
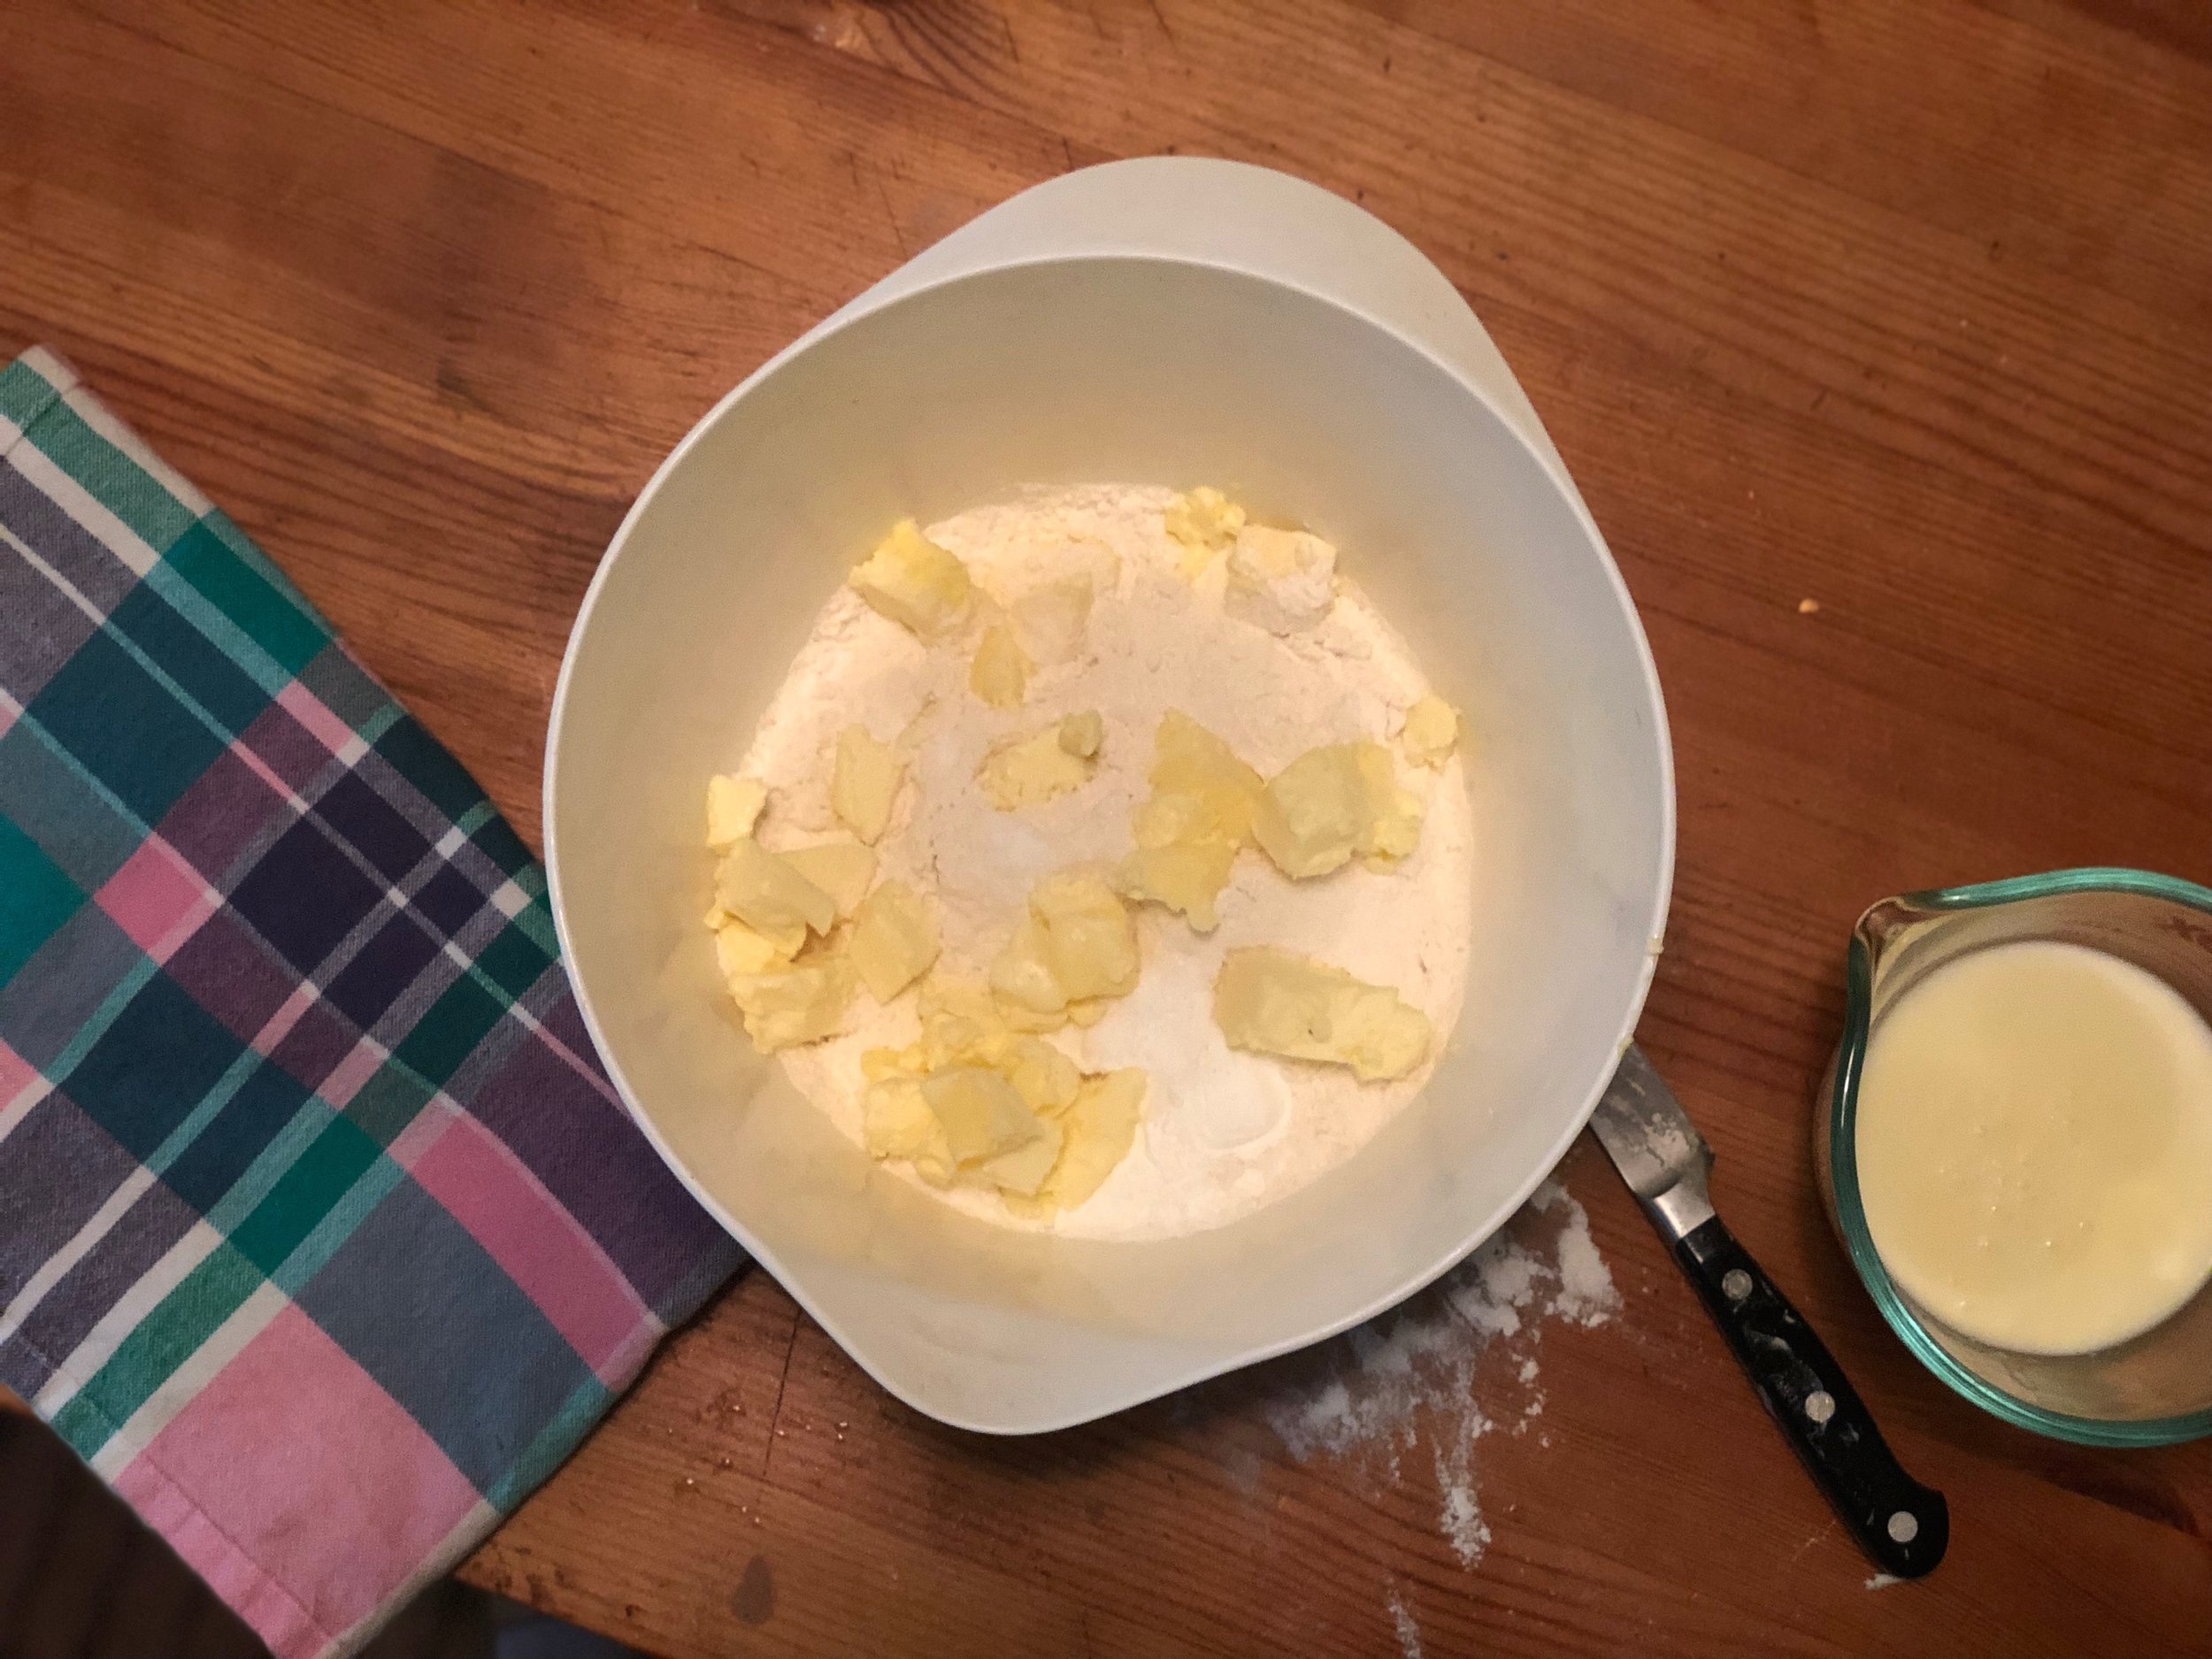
Here’s where I went wrong, initially at least. First, there seemed to be such a low ratio of sugar to butter, I went ahead and grabbed a bowl that wound up being too small for the long mixing process required to get the butter and sugar to the right consistency. Perhaps this is a peril that comes with not having a stand mixer, but it just wasn’t working at first and my cubed butter repeatedly got stuck inside the beater wands. So I transferred the mixture to a larger bowl and gave it a few moments to rest and warm up, and from there the mixing seemed to improve. That is, until I added the flour.
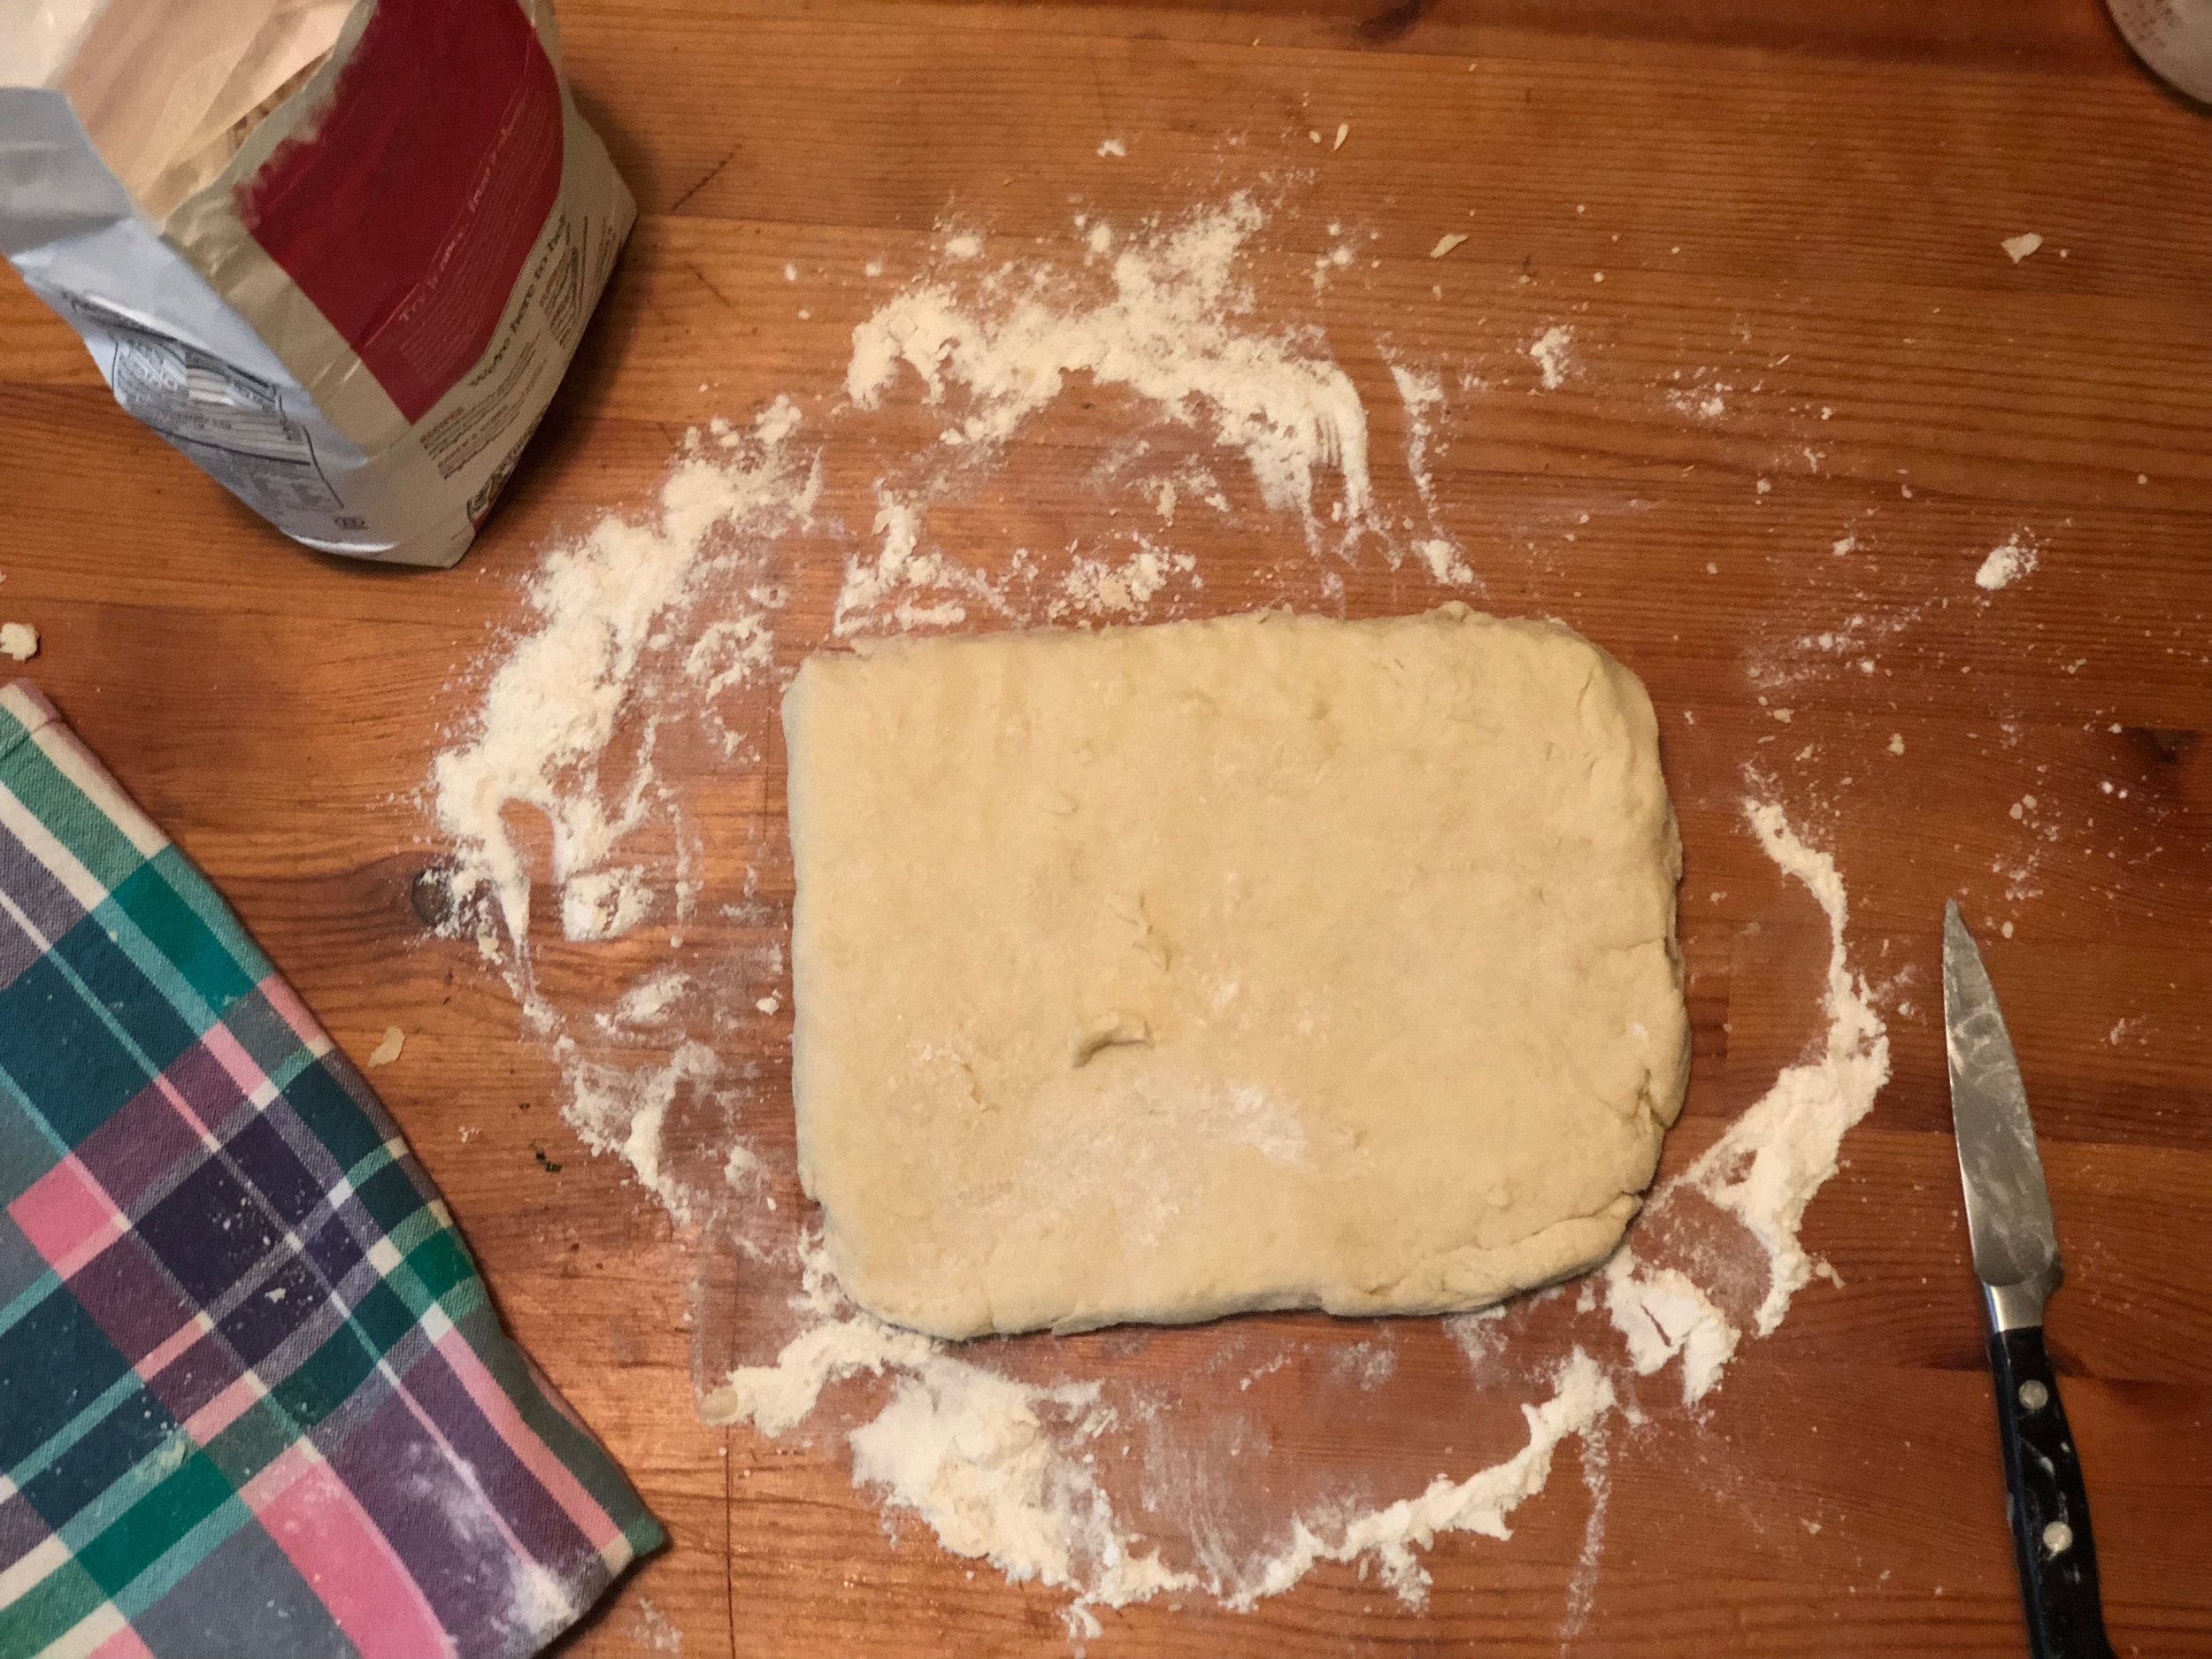
At first the dough seemed to cohere, but then as I added more flour into the mix it suddenly became a bowl of dough crumbs and rubble. It very much resembled a pie dough before the chilled water was added. I was staring down a big ol’ bowl of… whatever the opposite of dough is. I found this worrying, but recalled that the dough has a two hour rest period in the fridge and hoped that the rest time would help it cohere. Magic seems to happen in the fridge, whether it’s pie crust, pasta dough, or crosses fingers these cookies. Right? Right.
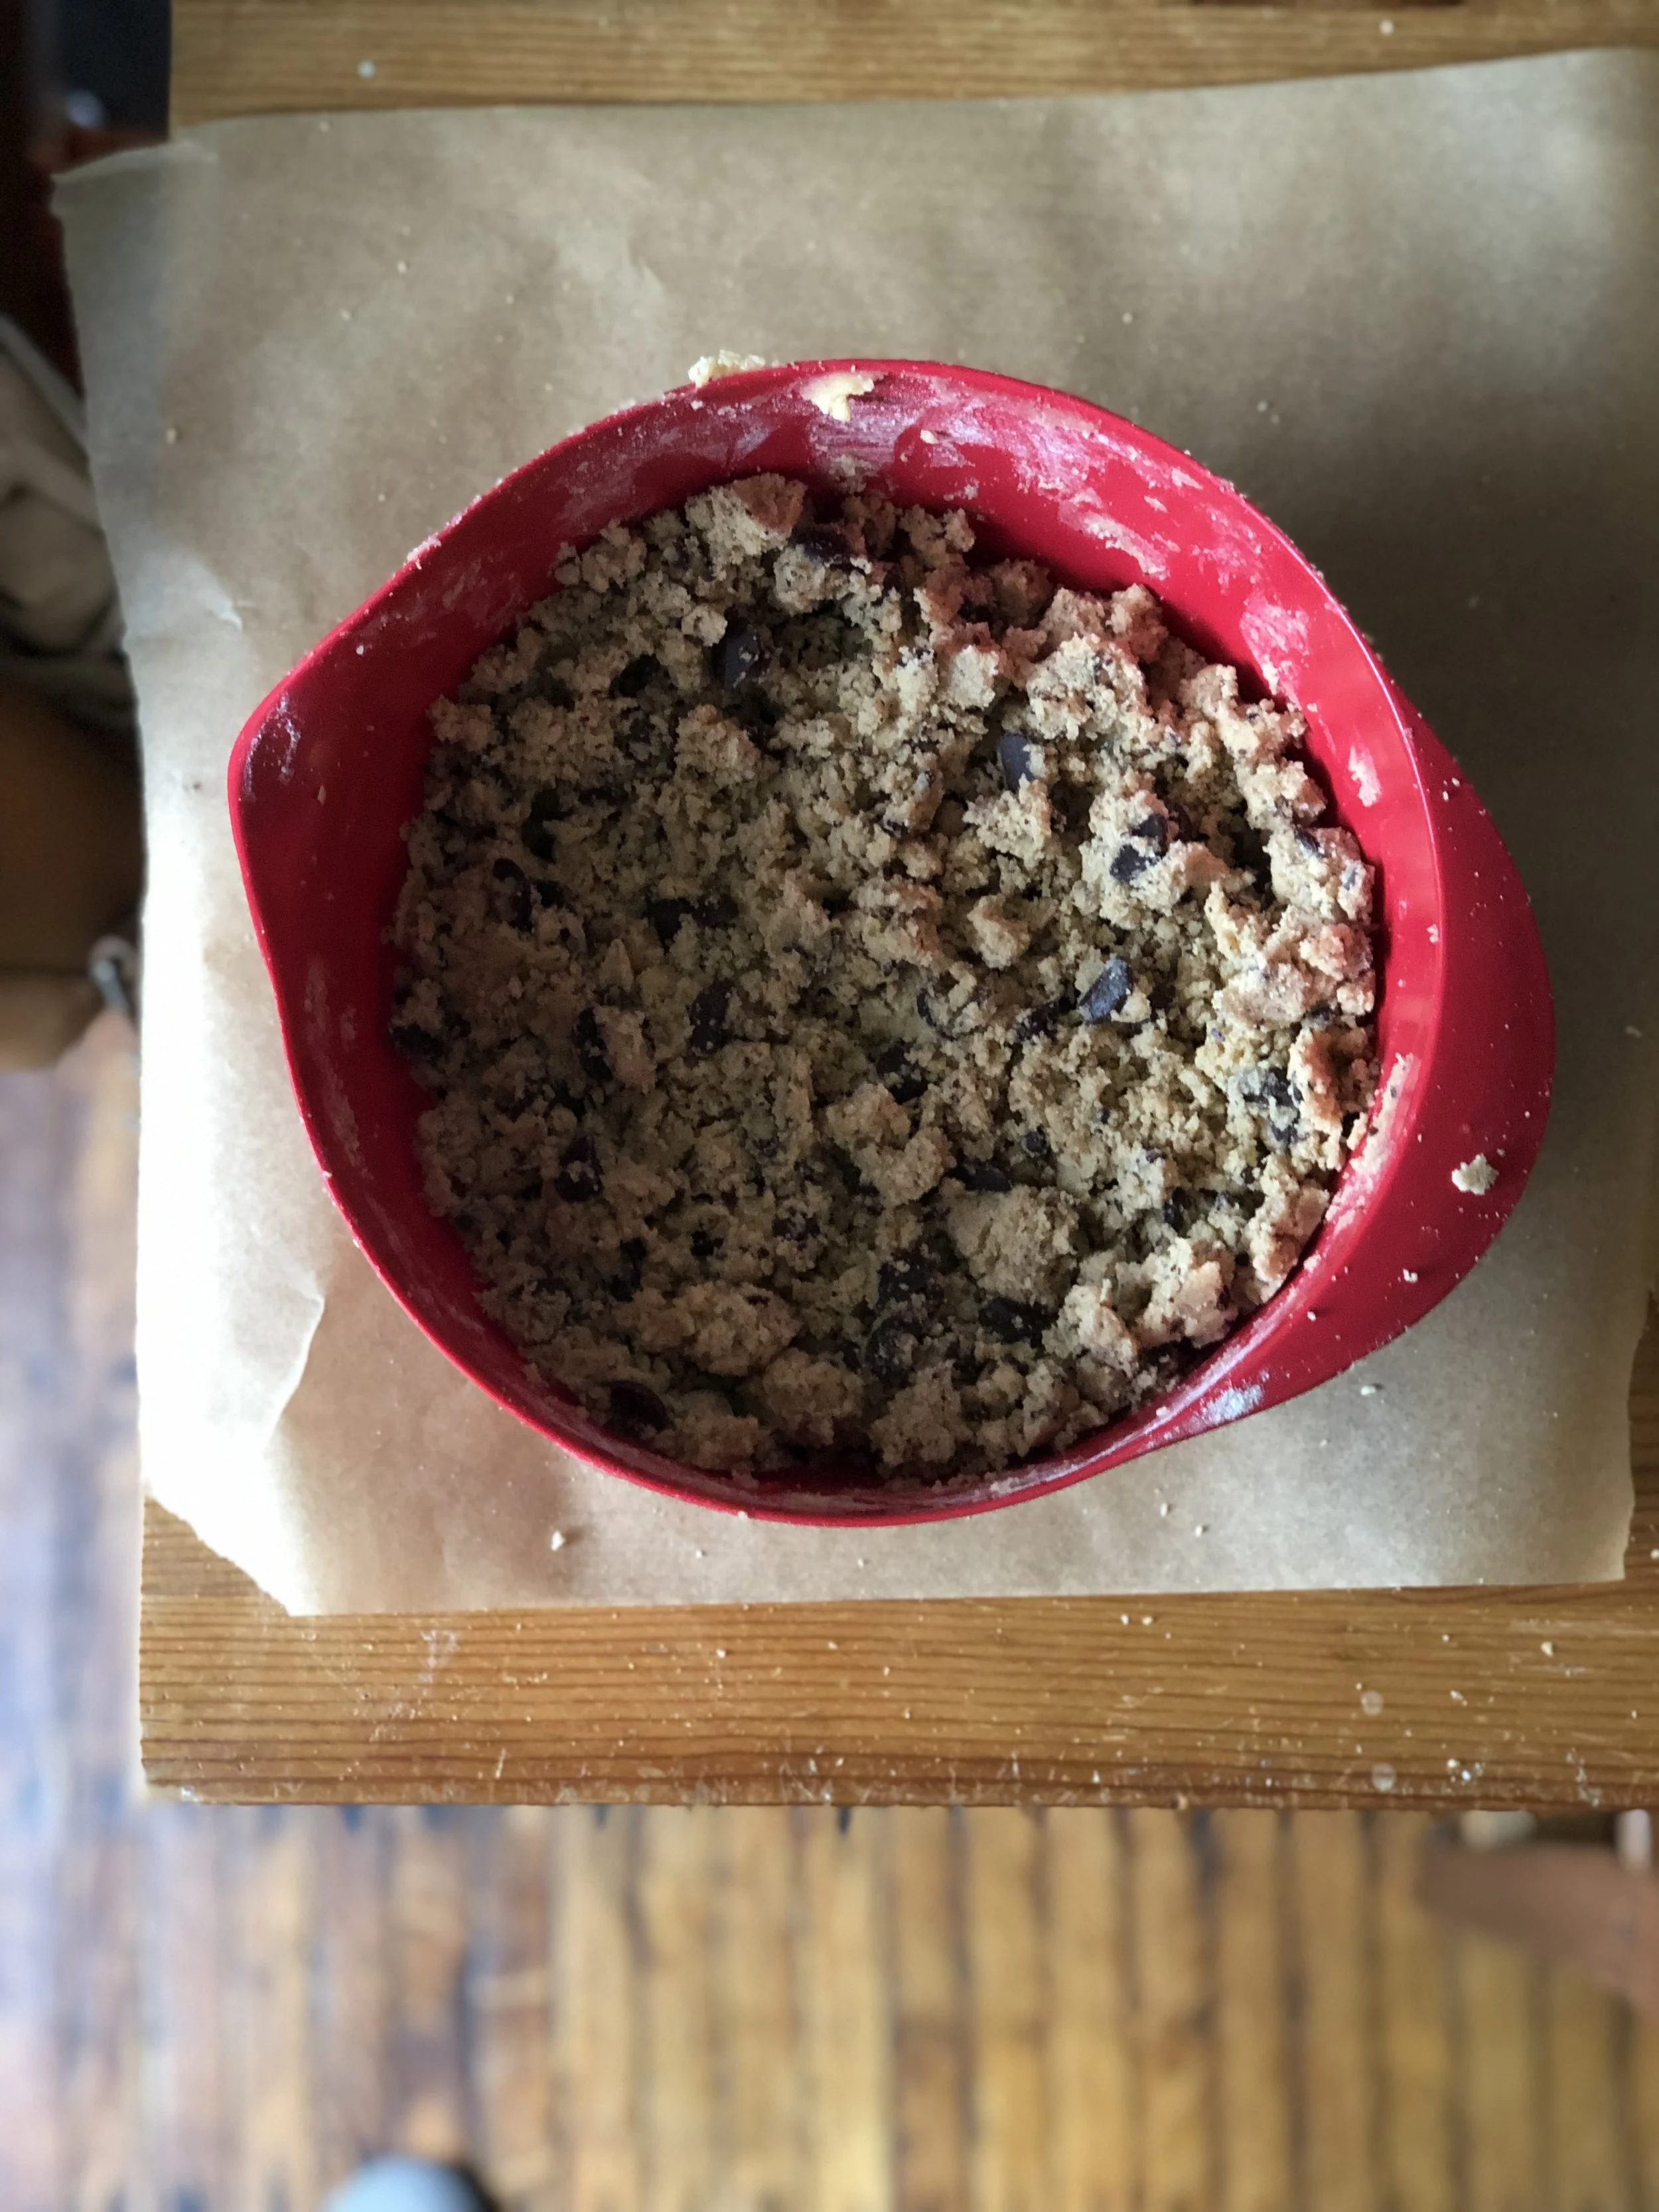
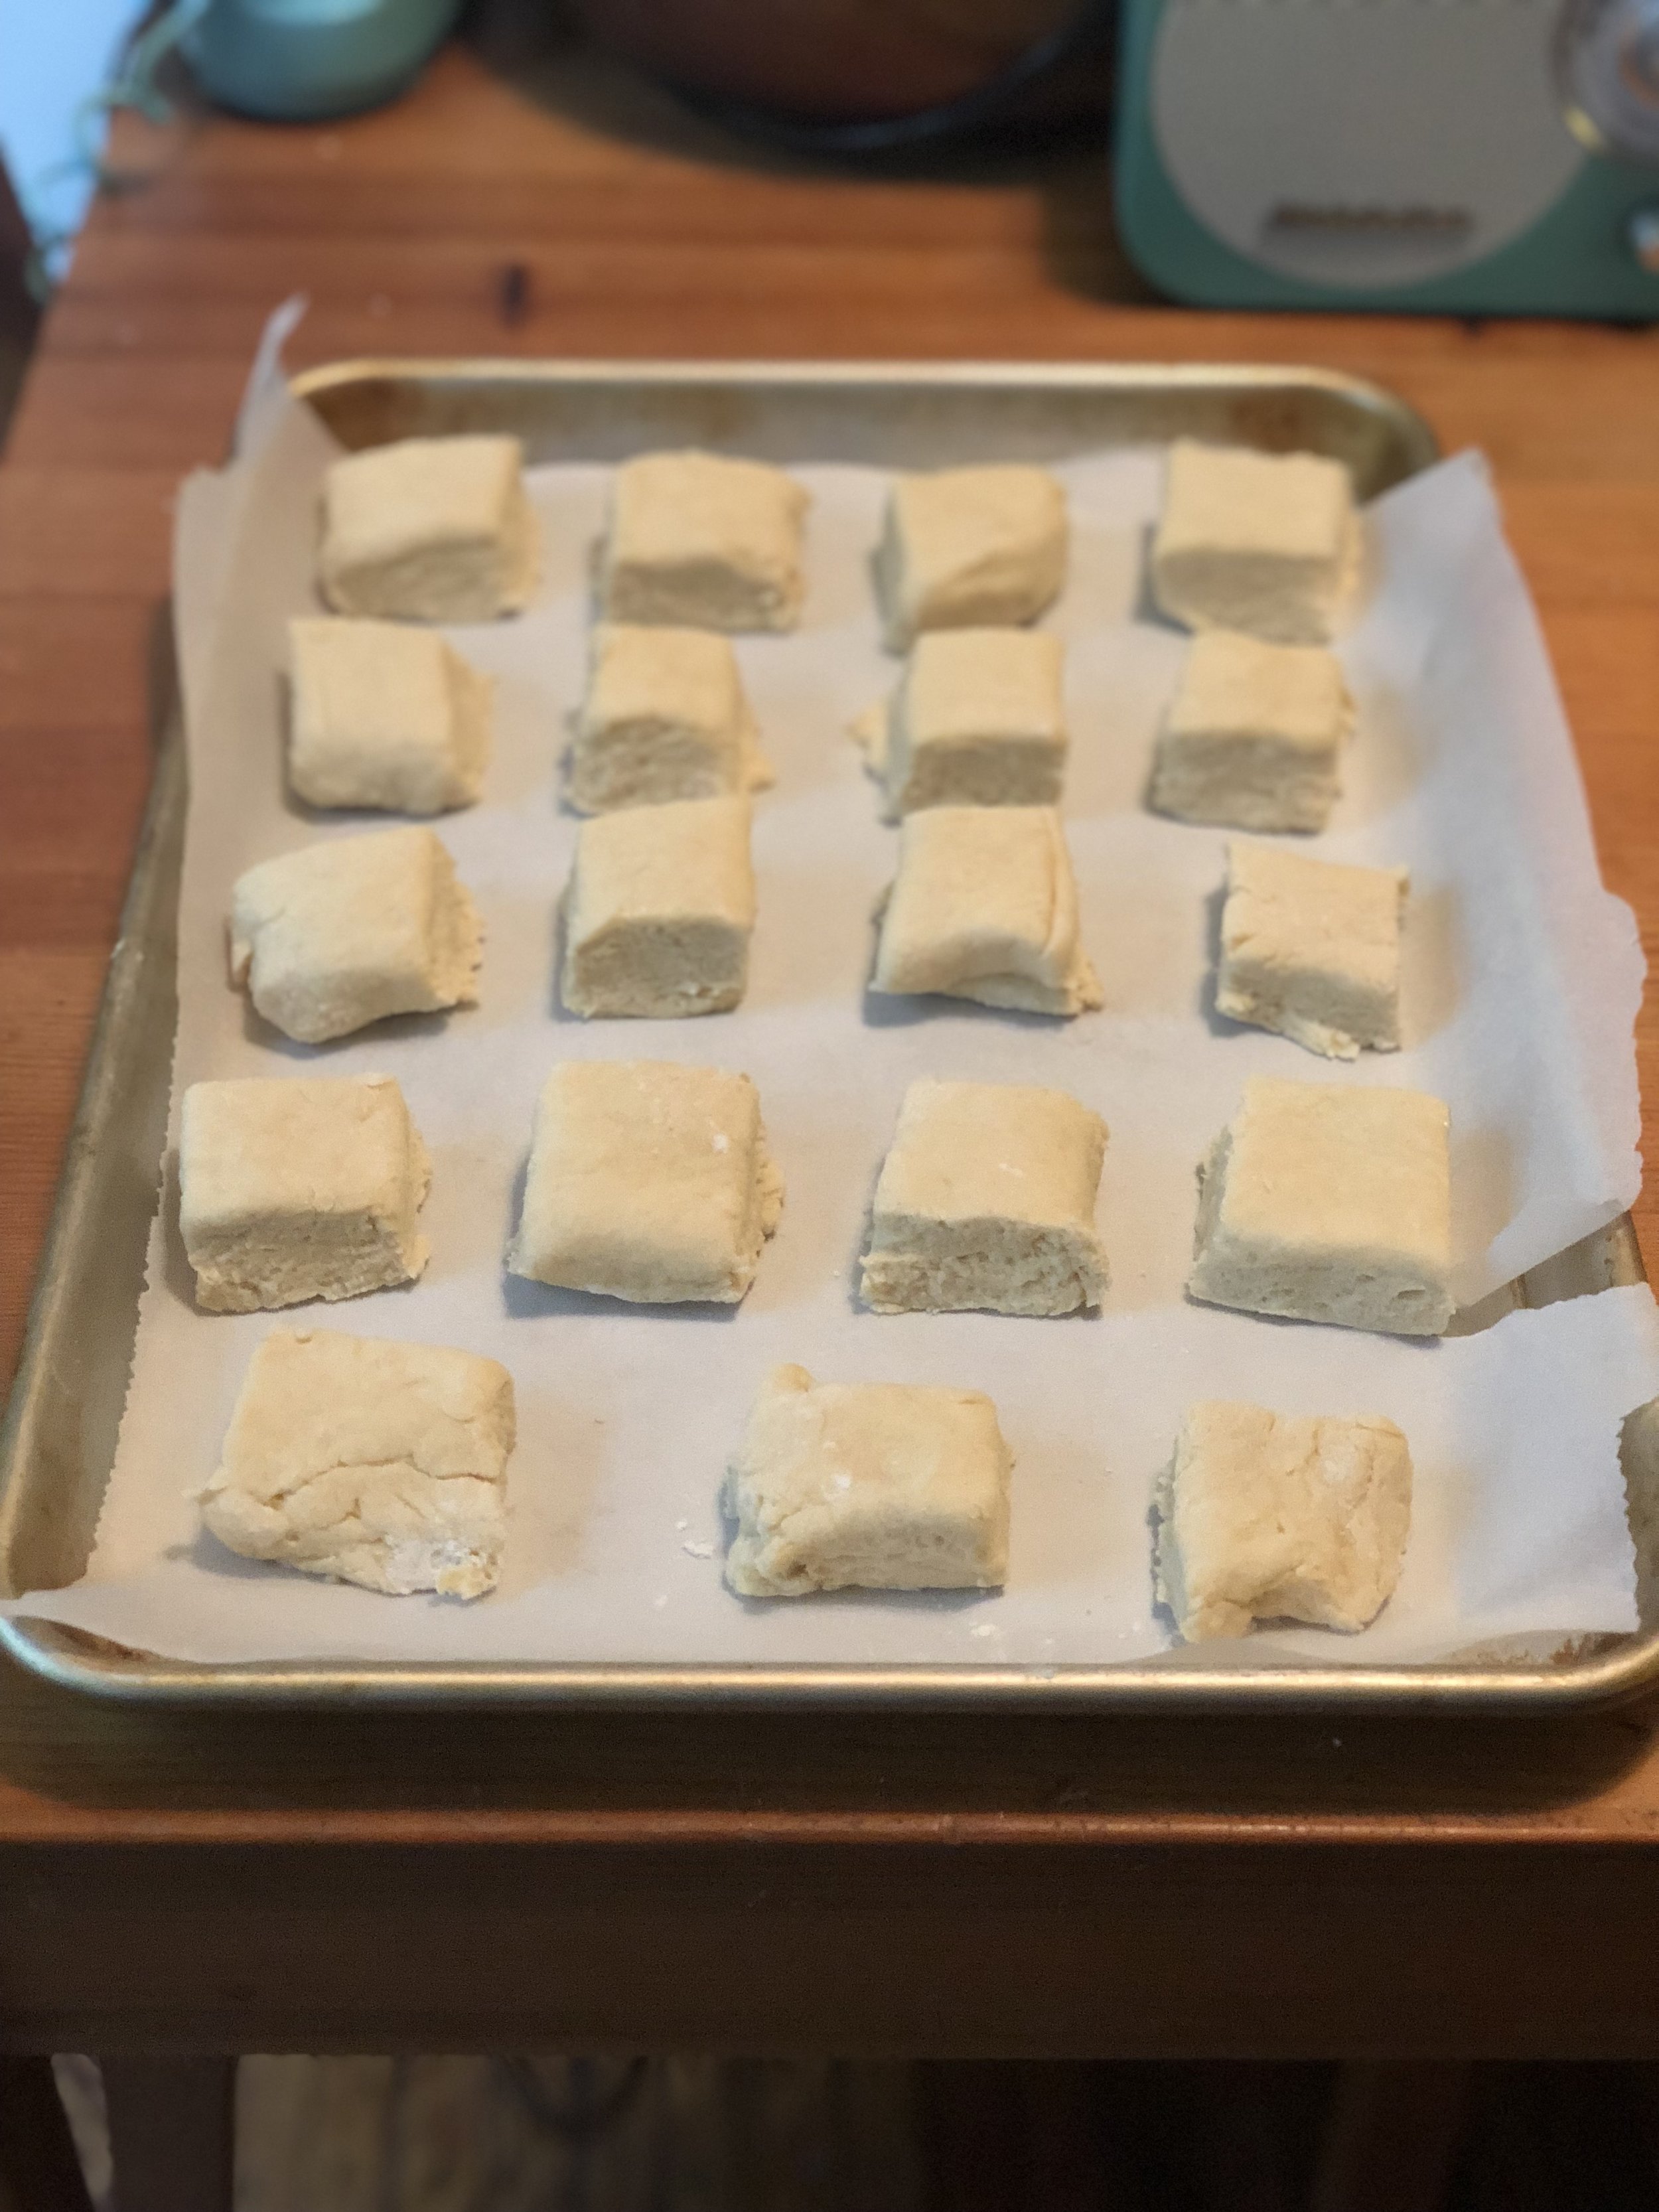
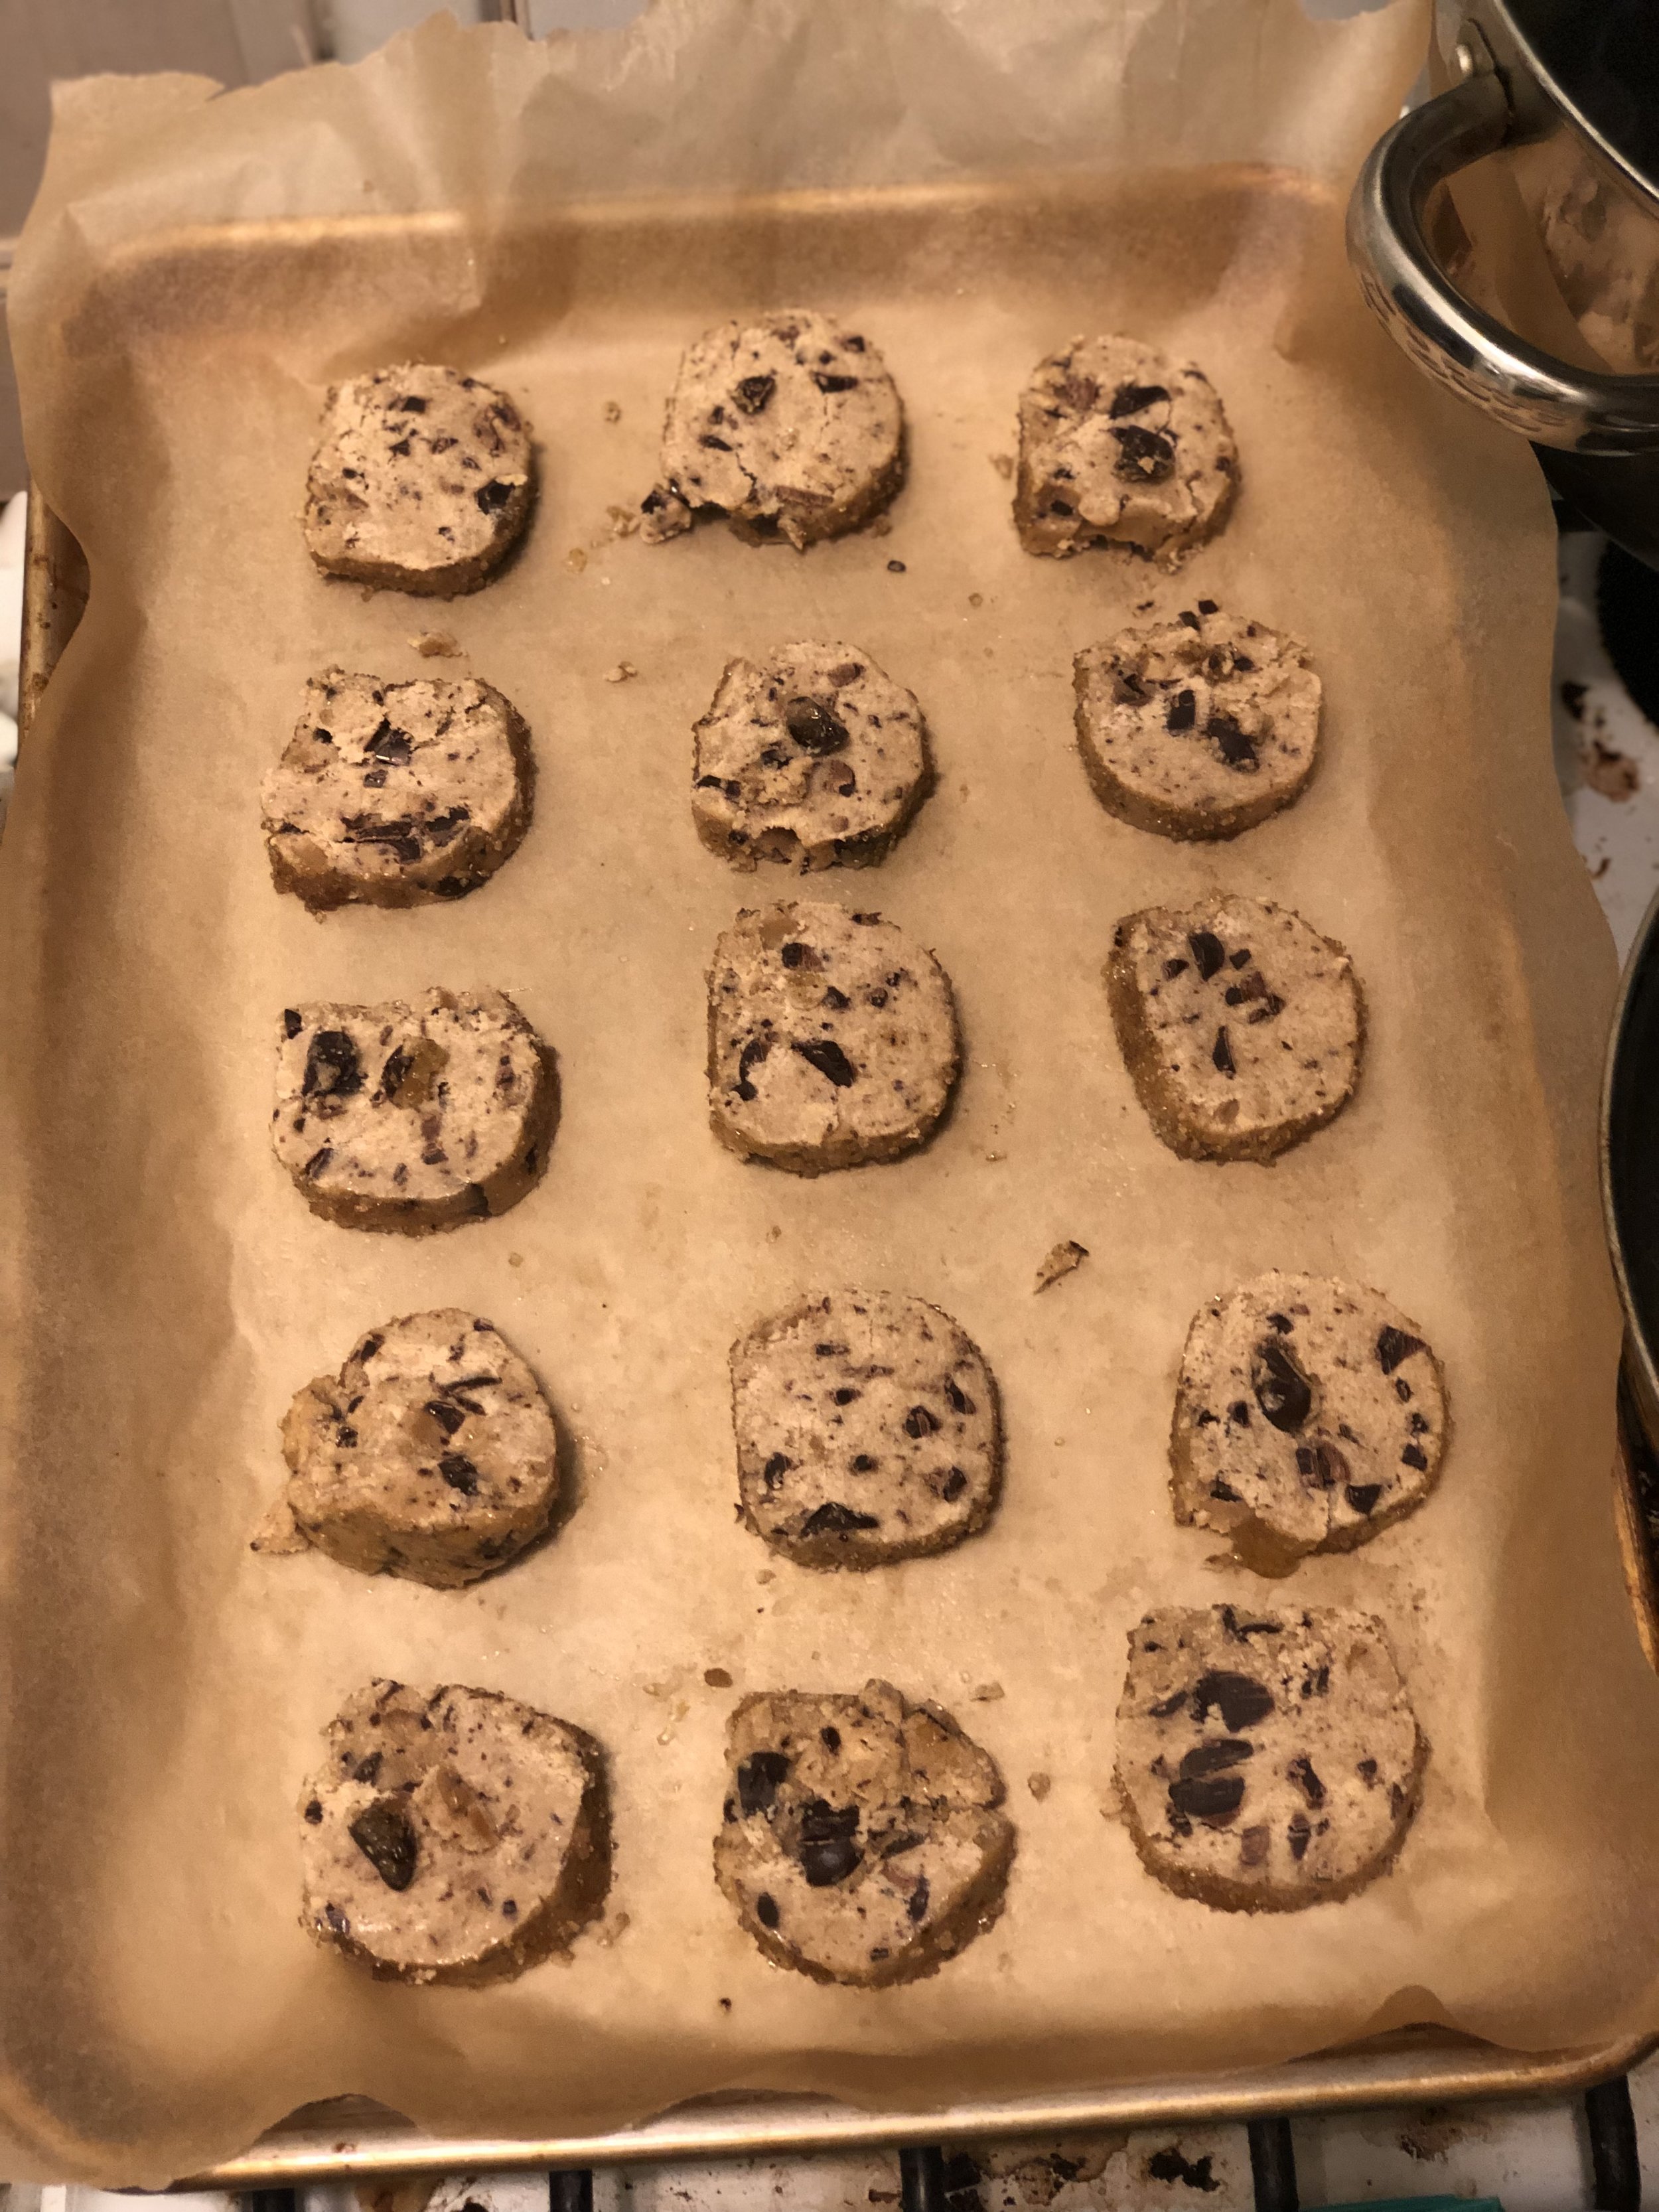
After a good rest, I pulled out my dough logs and prepared the egg wash and demerara sugar coating. Since having tried to roll a whole log of egg wash covered dough in sugar, I can say: don’t do this. I ended up with egg and sugar syrup all over the parchment paper, making slicing my cookies a precarious experience. I say go ahead and lightly brush the dough with egg yolk, then roll the slice edges in the sugar afterwards. Of course, that is if your slices come out clean. I found that using a serrated knife, as suggested, did not work for me at all. I ended up with chunks of cookie pieces, and not actual cookies. As soon as I switched to my favorite kitchen knife and used a good amount of (slow) pressure, I was back in business. I am guessing this part is sheerly up to preference? Go with what works best for you!

Something else I’ve read, based on the comments on this recipe over at the New York Times, is that people found the cookies were easier to slice after they froze the logs. I live alone and often end up freezing half of any cookie dough I have, so this option works great for me since I didn’t want any cookies to go to waste. It’s all the better to have slice and bake cookies ready to pull out for any friends who might drop by, right? The other thing I want to note here is that I did chill my cookie dough for the full two hours, but found the consistency was almost or close to frozen. This is due to my (very terrible) refrigerator. This meant that in the end my bake time was a full ten minutes beyond what the recipe suggested. I am not sure if this is that my dough was too cold to start, or my oven is off in some way, but just keep an eye on your baking as always and you should be fine! Shortbread is sort of notoriously tricky because it sets up as it cools, but just keep checking or do as I do and trust that the moment you start to smell an actual cookie scent, things are about ready.
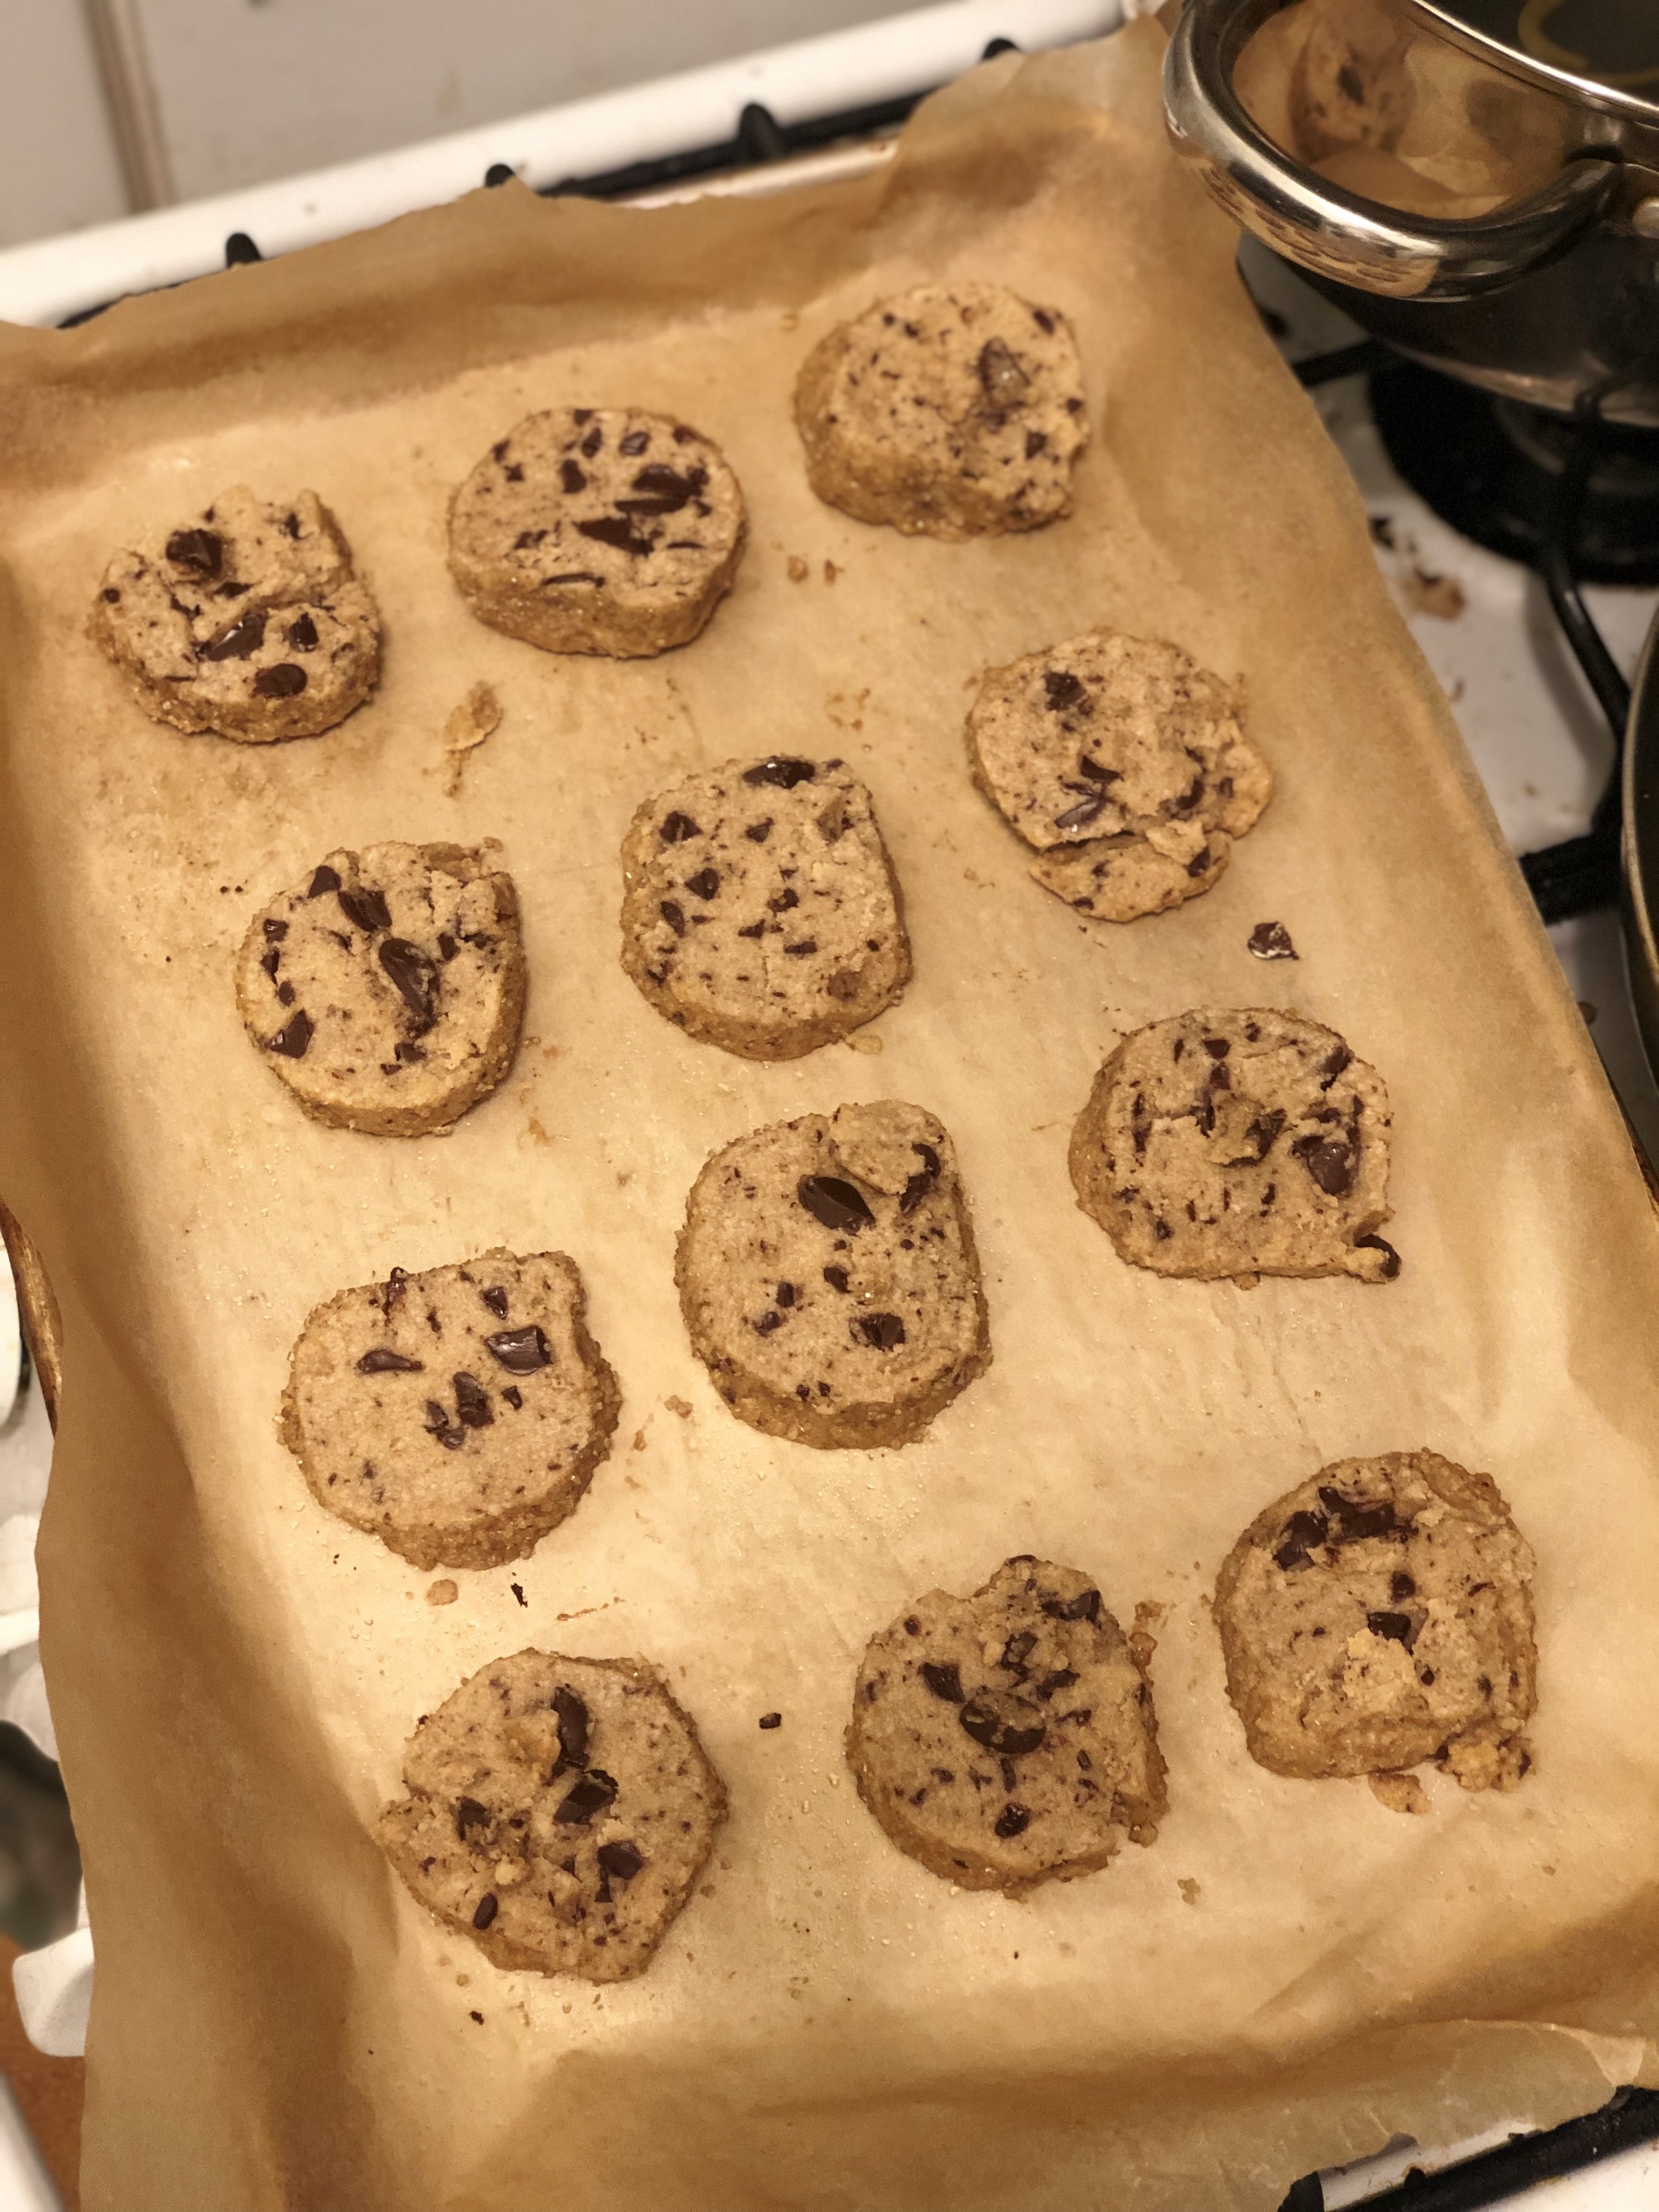
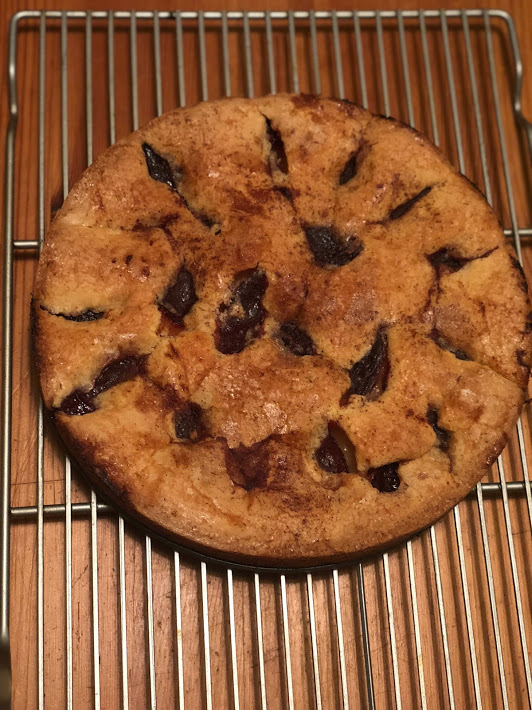
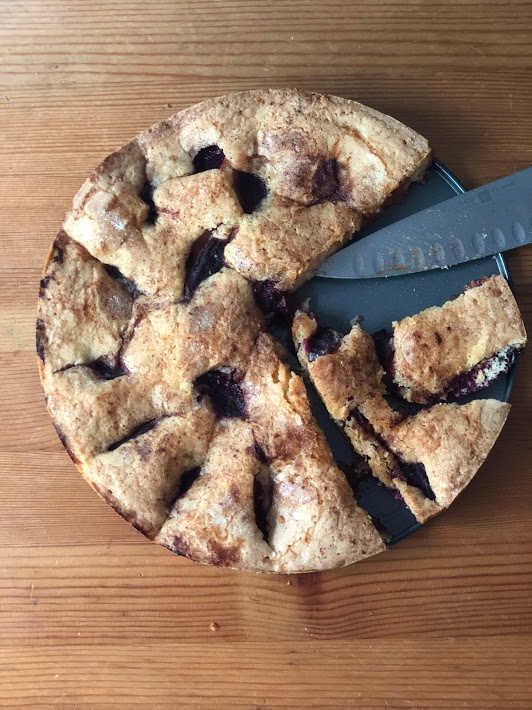
Now - finally - these were amazing. I love a good shortbread, I love salt, I love butter, I l o v e dark chocolate. I knew I’d love them and they came out exactly as I expected. Rich, but not overly so. Just the right level of savory to balance out sweet. Gorgeously rustic looking with their sugared edges and speckled centers. A perfect match for me!
Now, about that second log of dough… it ended up staying in the fridge for a few days and by the time I pulled it out to slice the dough was either too hard or too dry. I couldn’t get a clean slice no matter what I tried. So, I ended up baking up the cookie shards and keeping the overly crumbly crumbs in my freezer to throw into my next batch of ice cream. This dough, after all, has no eggs, so it really does taste like perfect raw cookie dough and is totally safe to eat. Just another lesson that even if the cookie crumbles, all is not lost! There will still be cookies, albeit misshapen ones.

Still perfectly delicious!
Editors note: Full disclosure, I actually made these cookies with half whole wheat flour and they were completely delicious.
Alison Roman’s Salted Butter Chocolate Chunk Cookies
1 cup plus 2 tablespoons (2¼ sticks) cold salted butter, cut into ½-inch pieces
½ cup granulated sugar
¼ cup (packed) light brown sugar
1 teaspoon vanilla extract
2¼ cups all-purpose flour
6 ounces semisweet or bittersweet dark chocolate, chopped
1 large egg, beaten to blend
Demerara sugar (for rolling)
Flaky sea salt (Such as Maldon)
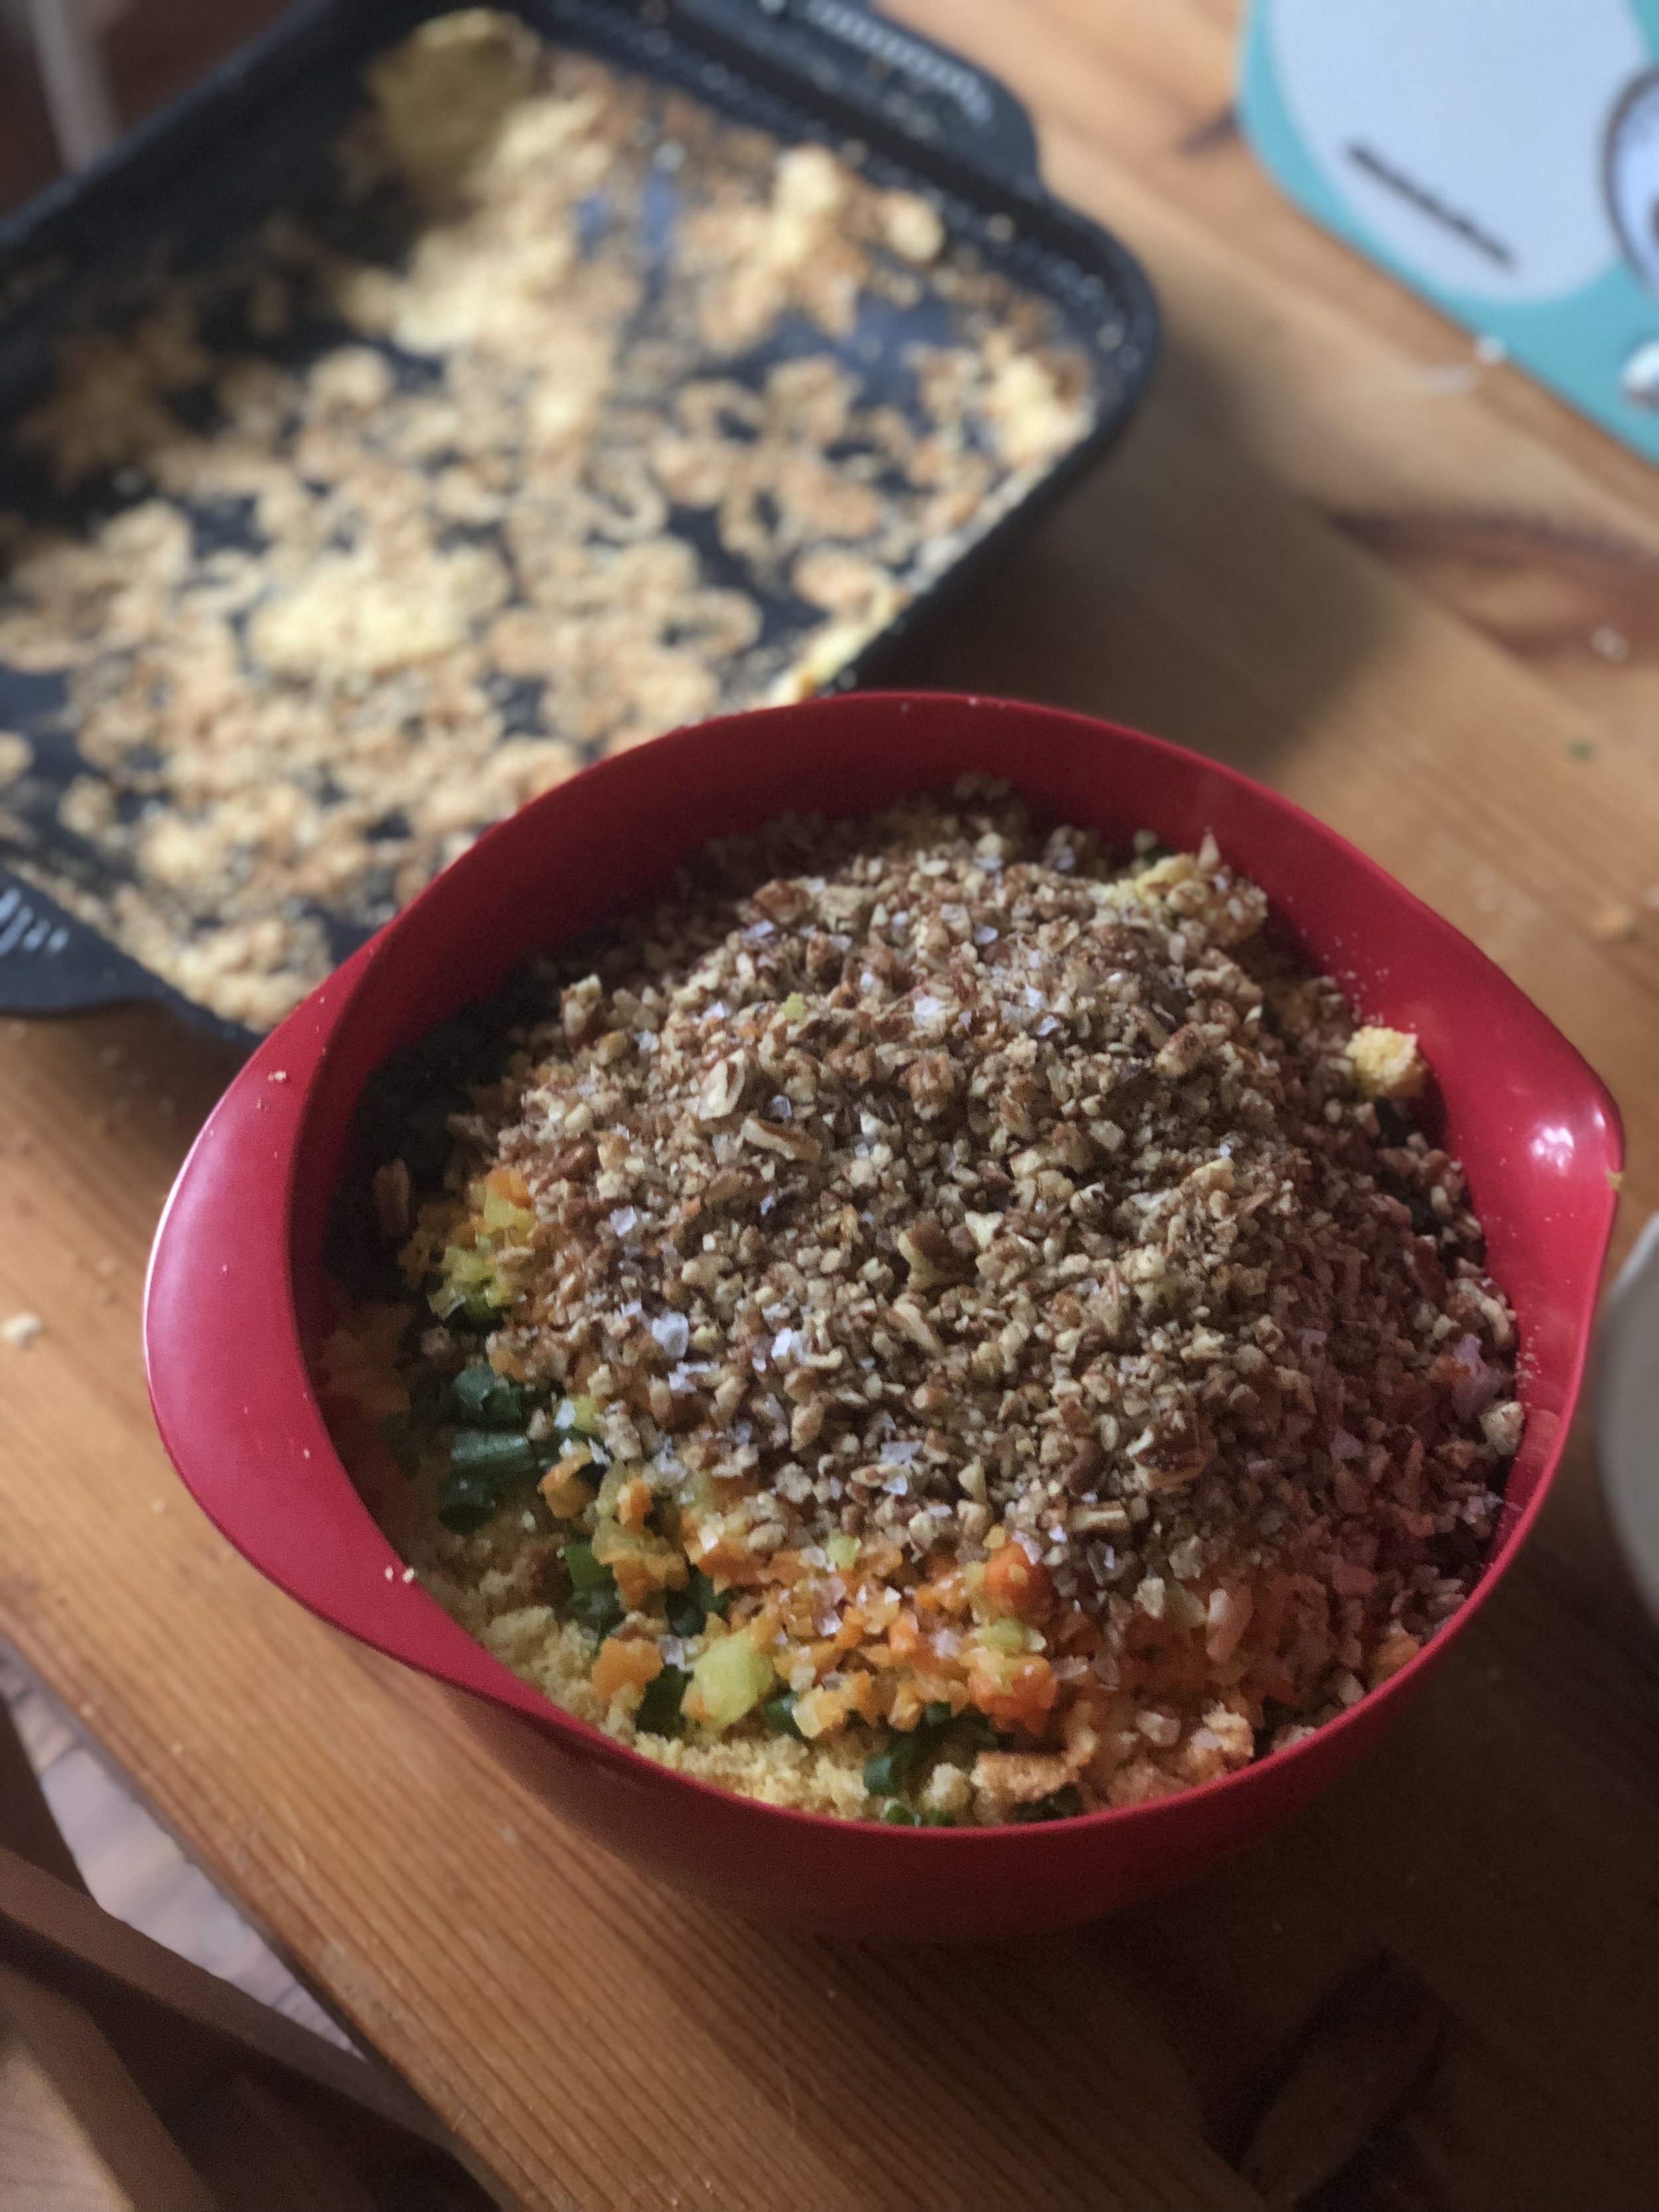
1. Using an electric mixer and a medium bowl or a stand mixer fitted with the paddle attachment, beat butter, granulated sugar, brown sugar, and vanilla on medium-high speed until super light and fluffy, 3–5 minutes.2. Using a spatula, scrape down sides of bowl. With mixer on low speed, slowly add flour, followed by chocolate chunks, and beat just to blend.
3. Divide dough in half, then place each half on a large piece of parchment baking paper. Form dough into a log shape and press firmly to make sure the dough coheres. You can gently roll the log back and forth to shape it once it is wrapped in the parchment. Each half should form logs that are 2–2¼" in diameter. Chill until firm, about 2 hours.
4. Preheat oven to 350°. Line a rimmed baking sheet with parchment paper. Brush outside of logs with egg wash.
5. Slice each log into ½"-thick rounds. Roll the edges of each slice in demerera sugar. Arrange on prepared baking sheet about 1" apart (they won’t spread much). Sprinkle with sea salt. Bake cookies until edges are just beginning to brown, 12–15 minutes. Let cool slightly to reach their full texture.